
Are you finally done with an attractive, stylish Photoshop design? You can’t wait to convert it into a responsive, attractive website, can you? This scenario describes a large number of people out there wanting to finally get their own website either for personal or business reasons.
Converting the PSD file into a functional WordPress website won’t be simple or easy, and if you’re looking for an agency to handle it, you can look here. Nevertheless, there are steps that you can follow to make the process methodological and successful. And in this article, we’ll go over the key steps in the conversion process, what you need to do at each step, and things you need to pay extra attention to.
#1 Analyze Your Photoshop Design
Whether you’ve designed the PSD file yourself or you are converting someone else’s design into a functional website, the first thing that you always need to do is properly analyze the design with your web developer glasses on.
You need to familiarize yourself with the structure and features of the design and properly visualize how you’ll go about creating a WordPress theme out of it before starting. This will stop you from rewriting large parts of the code later due to misunderstandings and changes in direction.
#2 Slice the PSD File and Extract the Assets
It should be obvious that you can’t just export your PSD files as images and use them in WordPress. Individual elements like the header, buttons, pictures, etc. all need to be ‘sliced’ out of the PSD file into separate files. Thankfully, Photoshop makes this process extremely easy and straightforward with its ability to give you tools that allow you to manipulate the file in a pixel-perfect manner.
If you want to go the extra step, it’ll be really helpful to organize each type of asset in separate folders when you slice them out. It’ll save you a lot of headache during development time.
#3 Prepare Your Web Development Environment
Now that you have all the assets ready to go, it is time to prepare your development environment. The ideal WordPress development will allow you to rapidly write HTML, CSS, JS, and PHP code, run the WordPress backend, rapidly test builds, and more.
How much care you put into your development environment is an extremely crucial decision. You’ll rely on it for the entire duration of the conversion going forward. And small mistakes and carelessness during this step will add up over time to lower the quality and increase the development time during the conversion.
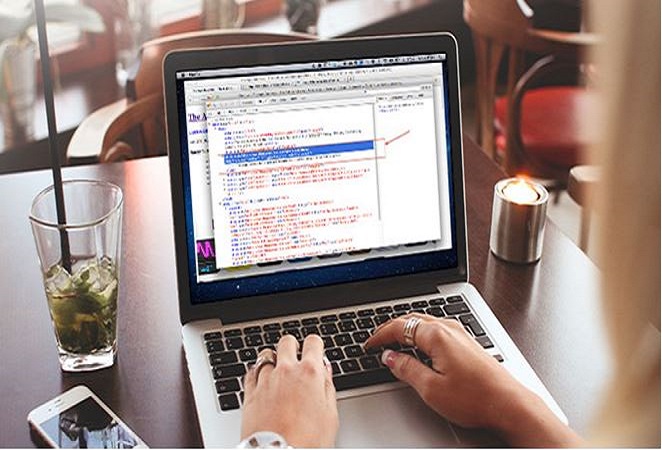
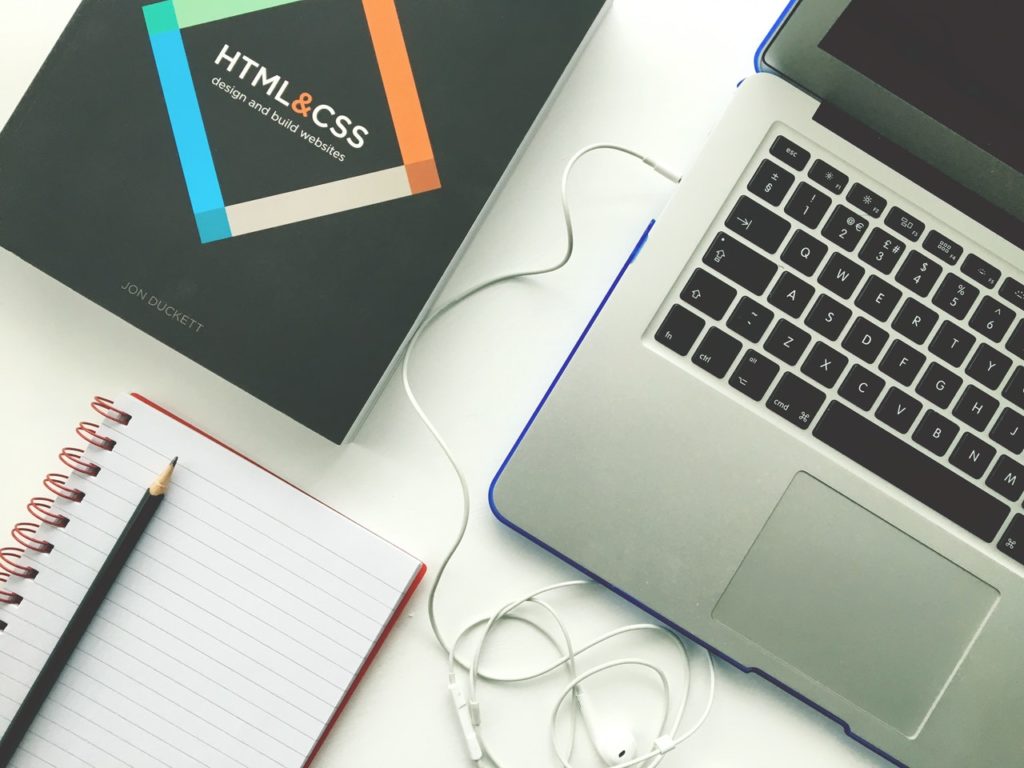
#4 Code the Structure of the Website Using HTML5, CSS, and JS
You might be surprised by this step as you are reading an article about PSD to WordPress conversion. But, most seasoned WordPress developers will tell you that it is better to first recreate the entire design in pure HTML, CSS, and JS before converting it to a WordPress theme. This might make development time a bit longer, but it has many benefits:
- Separation of concerns - it is easier, faster, and better to ensure each file, method etc. has a separate task, and you can do this with properly written HTML, CSS, and JS code. Separation of concerns is a web development best practice that everyone should follow.
- Preventing overreliance on WordPress - by ensuring you recreate the entire theme in raw HTML, CSS, and JS first. You prevent overreliance on WordPress. And in the future, if you want to port your design to another CMS, the task becomes far simpler.
- Making debugging and maintenance easier later on in the project’s life: by designing proper HTML, CSS, and JS files, you always know where to look if you find a visual bug or want to make minor changes. It makes debugging and maintenance a much easier job.
#5 Convert the HTML, CSS, and JS into a WordPress Theme
Now that you have properly recreated your design in platform-agnostic HTML, CSS, and JS. It is time to create a proper WordPress theme out of it. If you’ve never done this before, you need to look through WordPress’s documentation. WordPress is very particular about how you structure your files and name them for the theme to work.
#6 Write the Required Backend Functionality for Your Design
Now that you have your WordPress theme, it is time to implement some bare backend functionalities so you can properly run and test your theme. You don’t have to implement everything now, just the basics like the databases that will populate the design, POST requests to fetch visible items, and more.
#7 Don’t Forget Testing!
And finally, after you have your backend ready, you have to thoroughly test every feature of the theme to ensure that it is ready for production. Testing how responsive the theme is, how easily navigable it is, does it properly display on various screen sizes, and far more. It is best to create a checklist of the most important things that you need to check and then run proper tests.